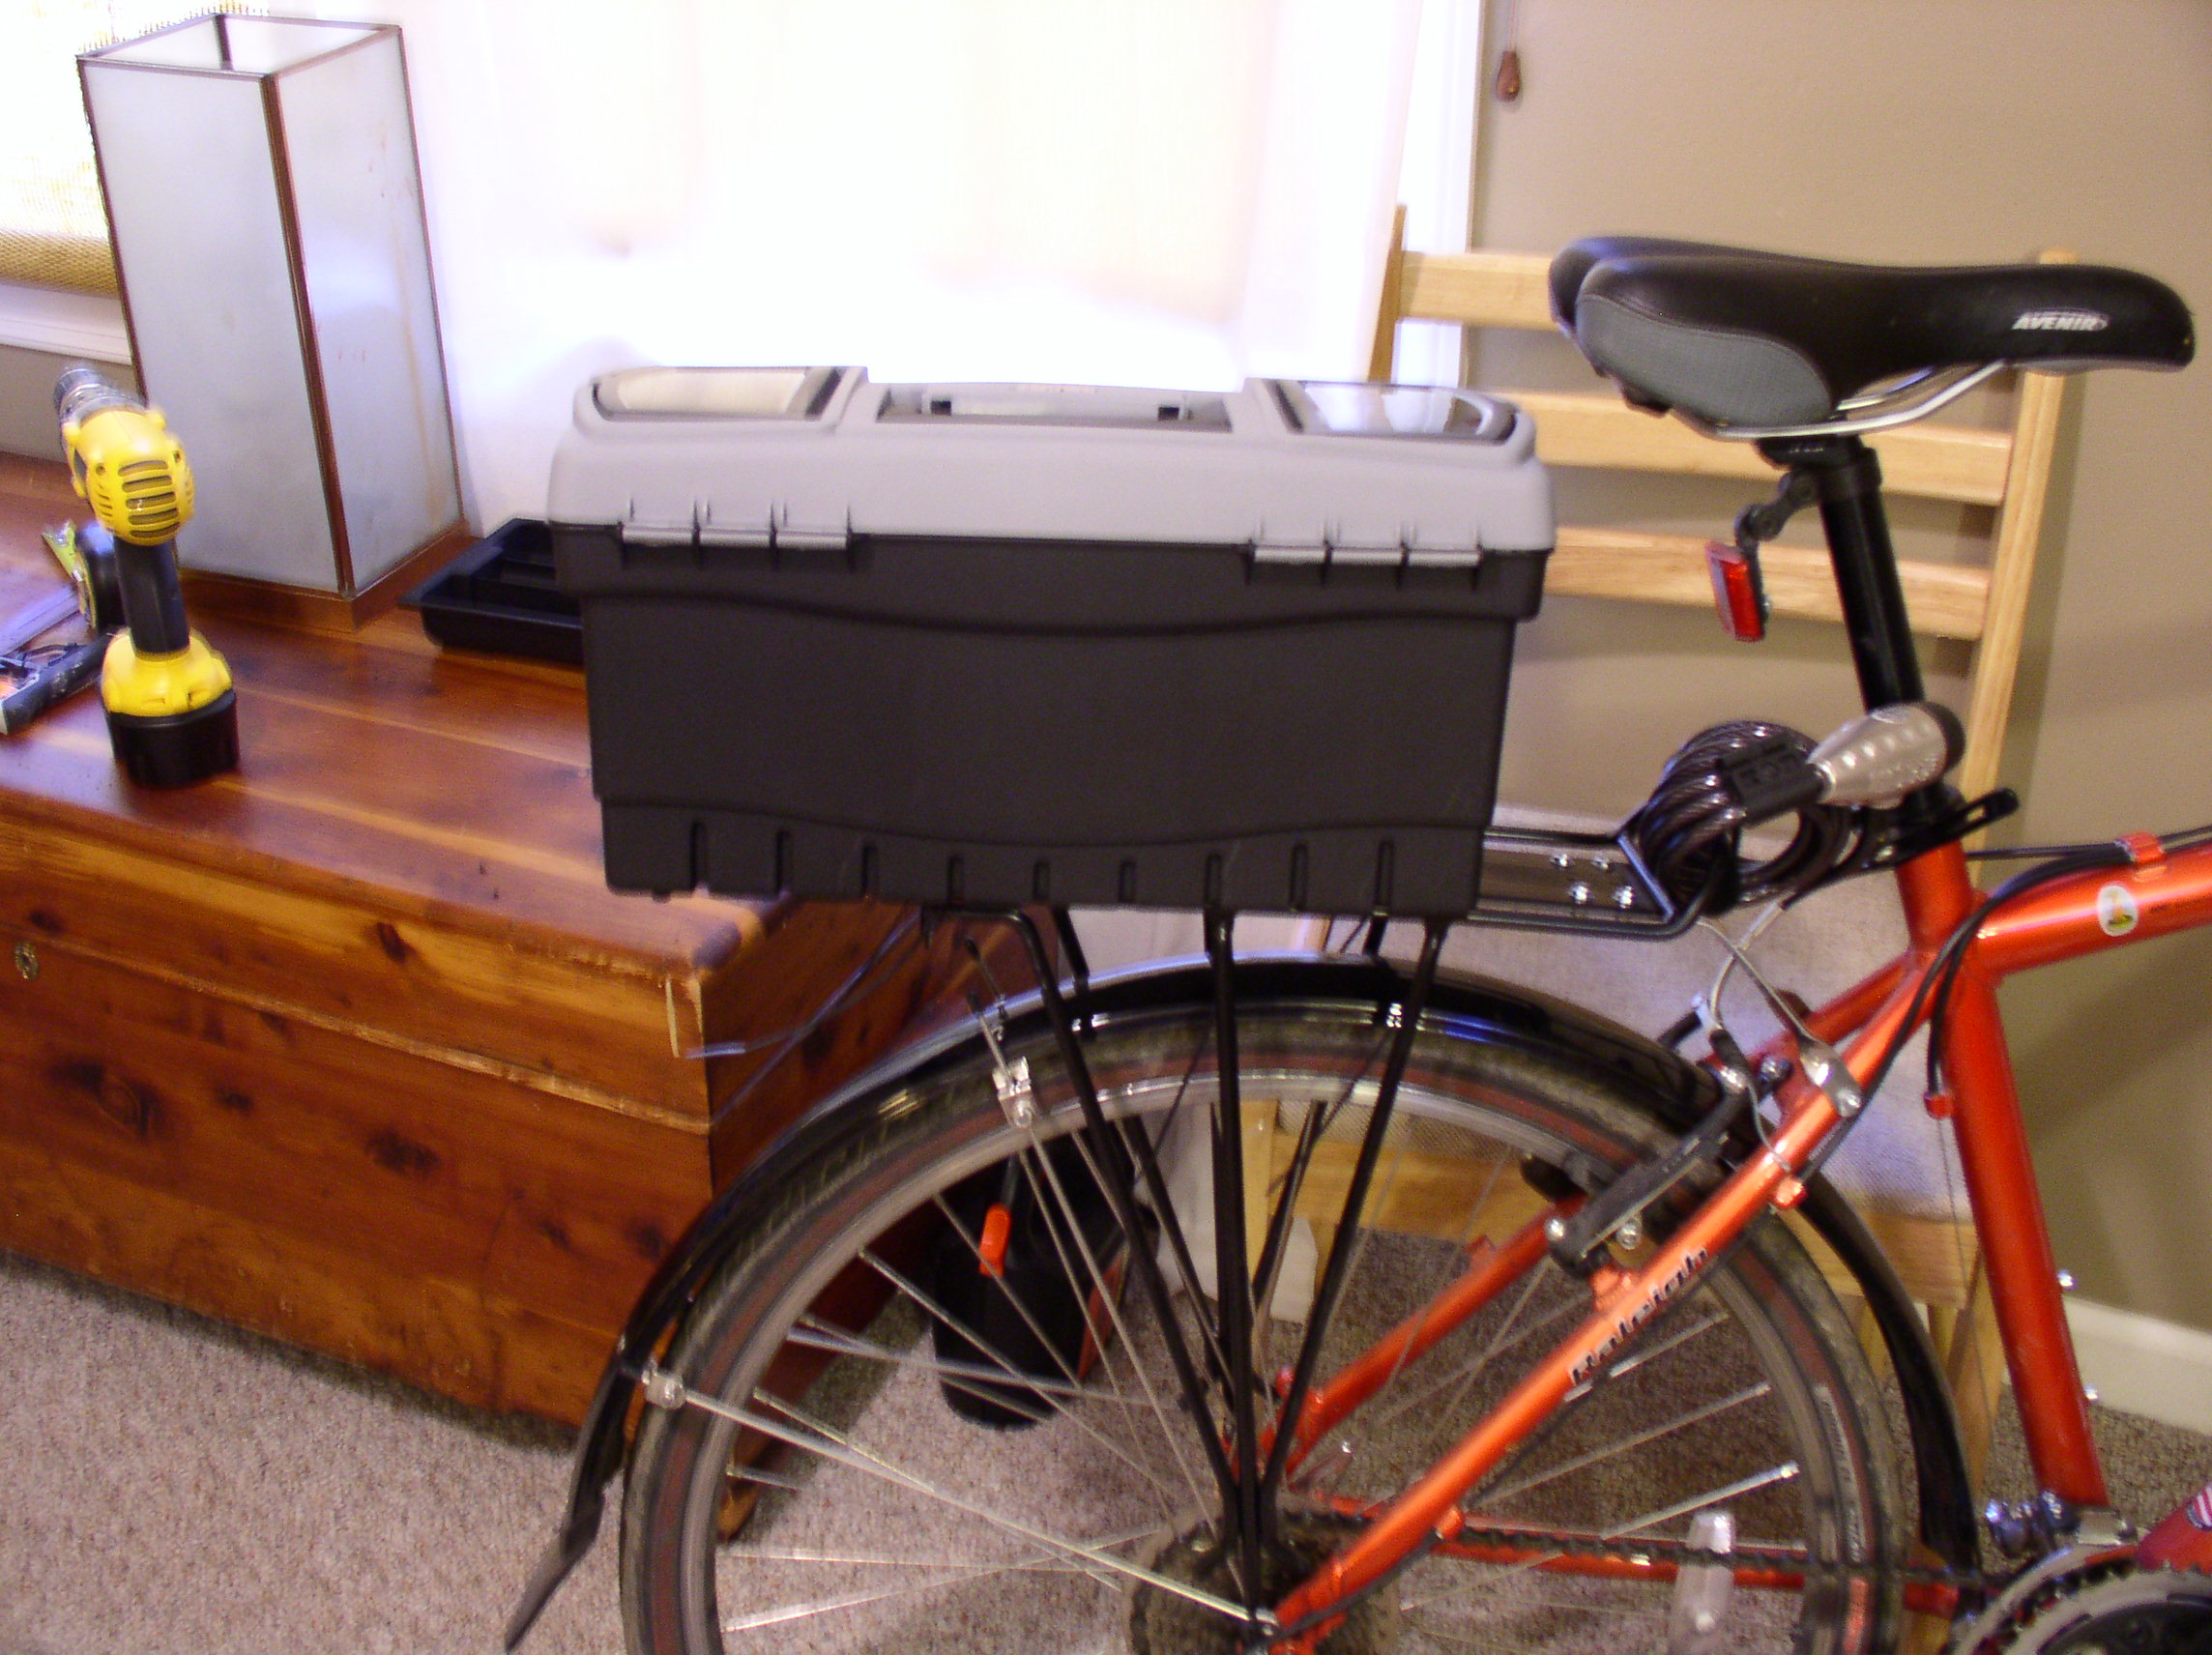
I purchased a bicycle trunk when I was a bicycle commuter. I bought it from a magazine on sale. I got an unexpected bonus- it was insulated. Over the years, I wore it out. Due to price increases, I could not afford to replace it. I did have a room full of crafting gear, odds and ends, bits and pieces I could use to make another.
I based my plan on the existing trunk. I kept features I loved and incorporated a few others.
You are free to follow this pattern, change it or add to it to suit your needs.
Use waterproof fabric, heavy canvas, denim or whatever you have on hand. My old one would keep a quart of ice cream frozen until I got it home from two miles away. My new one works better.
This article assumes you have sewing skills. If not, perhaps you know someone who does.
You will need:
- · Heavy fabric, one to two yards.
- · Hook and loop tape
- · One inexpensive carabineer
- · One inch wide webbing
- · Insulation- Reflectix, Ecofoil, hard foam board or other insulation. Do not use fiberglass insulation.
- · Waterproof fabric, preferably rubberized- this will go on the bottom of the trunk. It protects the food inside from road water and debris.
- · Zippers of various sizes
- · General sewing equipment- machine, measuring tools, scissors, pins and so forth
Step One:
Measure your bicycle rack. You can make your trunk to fit under your seat, or set the length from the back of the rack to the back of your seat. The width of the rack will be the width of the trunk.
Decide how tall you want your trunk to be. Some commercial trunks are ingenious- they have extra fabric on the sides that allows the trunk to expand vertically. Keep in mind you need to get your leg over the seat to mount the bike.
You can have a pocket on the back with a place to hang a reflector. Plan for a top with extra fabric to create an extra pocket on top for non-cold items, such as keys, wallet, etc.
Step Two:
In the trunk, the insulation will be placed inside the trunk. One piece for the bottom, one on each side, one at the front and back and one on top. Alternatively, you can create pockets for the insulation to slide into. The insulation is removed so the trunk can be washed.
The thickness of the insulation should not be too great. It should be determined by how far you have to ride and what you need to keep frozen.
When sewing the bottom seam, incorporate the hook and loop straps into the seam. You can also use D-rings instead and tie the trunk to the rack. The bottom fabric should be the waterproof fabric.
Add a webbing strap to the front for carrying the trunk vertically. Attach the trunk to the rack with the carabineer. If the hook and loop tape fails, the trunk will stay on the bike.
Step Three:
Create a pocket on the back of the trunk. Add a strap so you can hang a reflector on. Traffic laws require reflectors on bicycles so car drivers can avoid you.
On the top, attach the zipper so you can access the contents. The top should be attached at one seam with the zipper opening on three sides.
Step Four:
Sew all the pieces together and attach the trunk to the bicycle. Give it a test on the road.
If everything feels good, you're good to go. If not, make adjustments.
You can attach a long strap at the front and back so you can carry the trunk with a sling over your shoulder.
Use your trunk as a lunchbox, picnic box, or to hold items for a barbeque.
Make several using different colors. You can have one for every day of the week, or to match your wardrobe.
They make wonderful gifts for students, bicycle commuters or recreational riders.
